Webhooks
A user can define Webhooks, in order to programmatically consume events that are emitted by our services.
Accessing the webhook management page
The Webhook management page can be accessed via the Profile Icon menu on the top right of the Watchdog webpage.
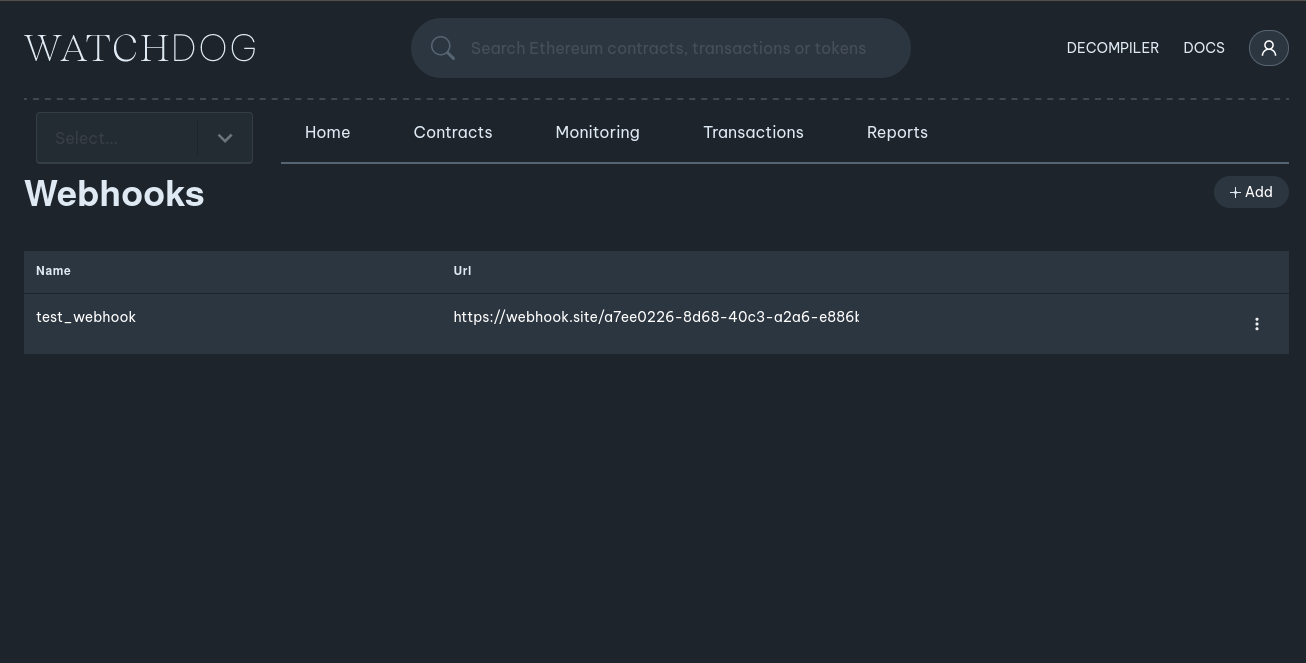
Here one can create, edit and delete webhooks, as well as retrieve any configured secrets that the user setup for authentication. Note that this page is only concerned with managing the Webhooks -- each Watchdog service/resource will need to be configured appropriately in order to connect to a Webhook that the user has defined.
Webhook parameters
When creating a new Webhook, you'll be presented with a modal that looks like the following:
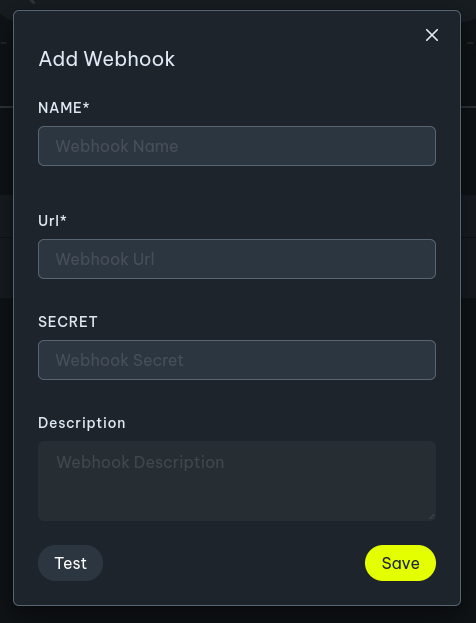
- Name (required): The name of the webhook. This needs to be unique (per user).
- URL (required): The url of the webhook.
- Secret (optional): An optional secret that will be included in the
x-webhook-secretheader of each request. This can be used to verify that the webhook was sent by us. - Description (optional): A short description about the Webhook. For example, the user can use this description to document the underlying Webhook.
Testing your Webhook
The user can test their Webhook when creating a new or editing an existing Webhook, via the Test button in the Webhook parameter modal. The following JSON body will be sent to the webhook URL for testing:
{
  "id": "hf:0.1",
  "event_type": "monitoring/alert",
  "data": {
    "query_id": 0,
    "query_name": "test query",
    "chain_id": 1,
    "updates": [
      {
        "foo": "0xc02aaa39b223fe8d0a0e5c4f27ead9083c756cc2",
        "bar": 1
      },
      {
        "foo": "0xa0b86991c6218b36c1d19d4a2e9eb0ce3606eb48",
        "bar": 2
      }
    ]
  }
}
Depending on the webhook URL, additional webhook fields may be sent (for example Discord expects a content field).
The UI will inform if any error occurs (non 2xx response, or reachability issues).